ValleyVent – Multi Purpose Ventilation
What is ValleyVent?
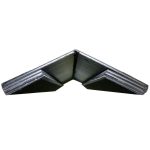
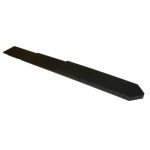
ValleyVent is an under-plywood, top-of-rafter vent easily installed during the construction of an addition or a new home. The ValleyVent provides adequate ventilation in the spaces to either side of the vent placement.
It is a required vent product when your soffit to ridge air flow is blocked by a skylight or dormer. ValleyVent easily allows air movement in those trapped areas.
It eliminates the need to drill holes in the rafters to ventilate areas trapped by construction supports. Use it in areas otherwise unventilated and considered problem areas. It is very versatile and can be used on wall surfaces between siding and wall sheathing, allowing air to move between those areas.
ValleyVent can also help stop mold and mildew when installed properly.
How does ValleyVent work?
ValleyVent is made of a corrugated material that allows air to pass through channels from one side to another. ValleyVent works in conjuction with your overall ventilation system by providing the neccessary passages for the transfer of air from intake to exhaust.
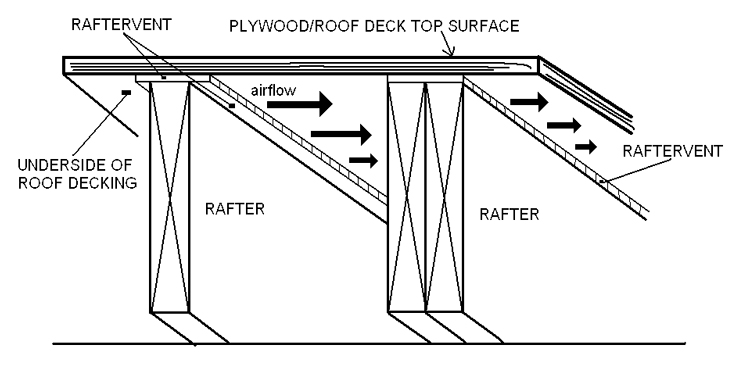
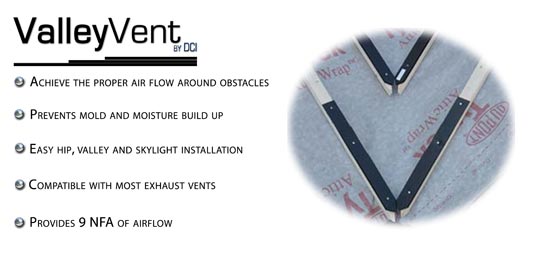
ValleyVent shown in image above.
ValleyVent Applications
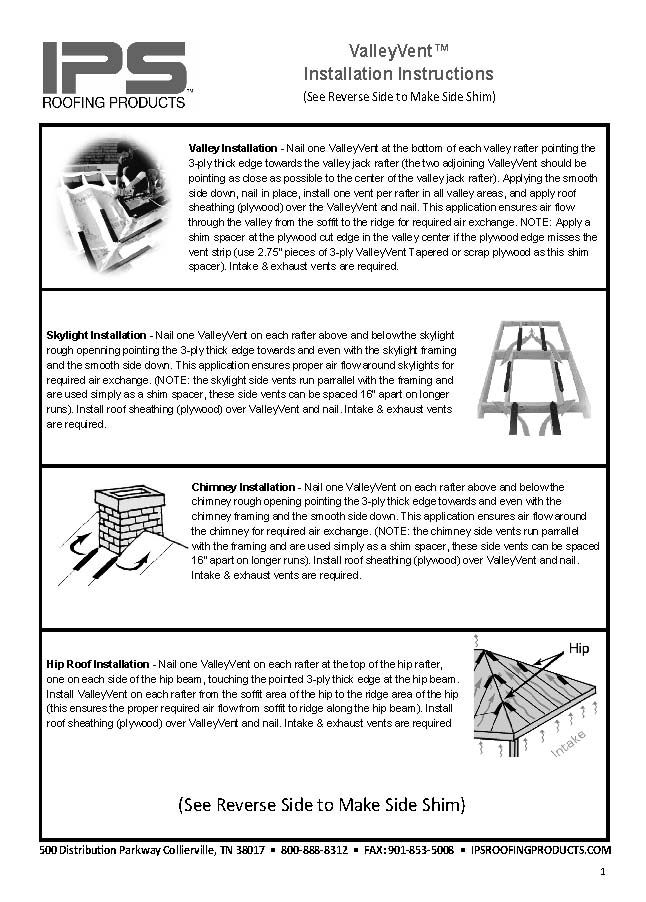
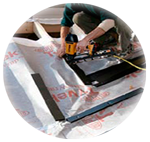 Valley Installation – Nail one ValleyVent at the bottom of each valley rafter pointing the 3-ply thick edge towards the valley jack rafter (the two adjoining ValleyVent Tapereds should be pointing as close as possible to the center of the valley jack rafter). Applying the smooth side down, nail in place, install one vent per rafter in all valley areas, and apply roof sheathing (plywood) over the ValleyVents and nail. This application ensures air flow through the valley from the soffit to the ridge for required air exchange. NOTE: Apply a shim spacer at the plywood cut edge in the valley center if the plywood edge misses the vent strip (use 2.75” X 2.75” pieces of 3-ply ValleyVent or scrap plywood as this shim spacer). Ridge vents are required.
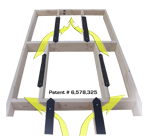 Skylight Installation – Nail one ValleyVent on each rafter above and below the skylight rough openning pointing the 3-ply thick edge towards and even with the skylight framing and the smooth side down. This application ensures proper air flow around skylights for required air exchange. (NOTE: the skylight side vents run parrallel with the framing and are used simply as a shim spacer, these side vents can be spaced 16” apart on longer runs). Install roof sheathing (plywood) over ValleyVents and nail. Ridge vents are required
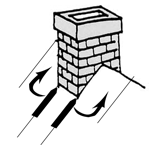 Chimney Installation – Nail one ValleyVent on each rafter above and below the chimney rough opening pointing the 3-ply thick edge towards and even with the chimney framing and the smooth side down. This application ensures air flow around the chimney for required air exchange. (NOTE: the chimney side vents run parrallel with the framing and are used simply as a shim spacer, these side vents can be spaced 16” apart on longer runs). Install roof sheathing (plywood) over ValleyVent Tapereds and nail. Ridge vents are required.
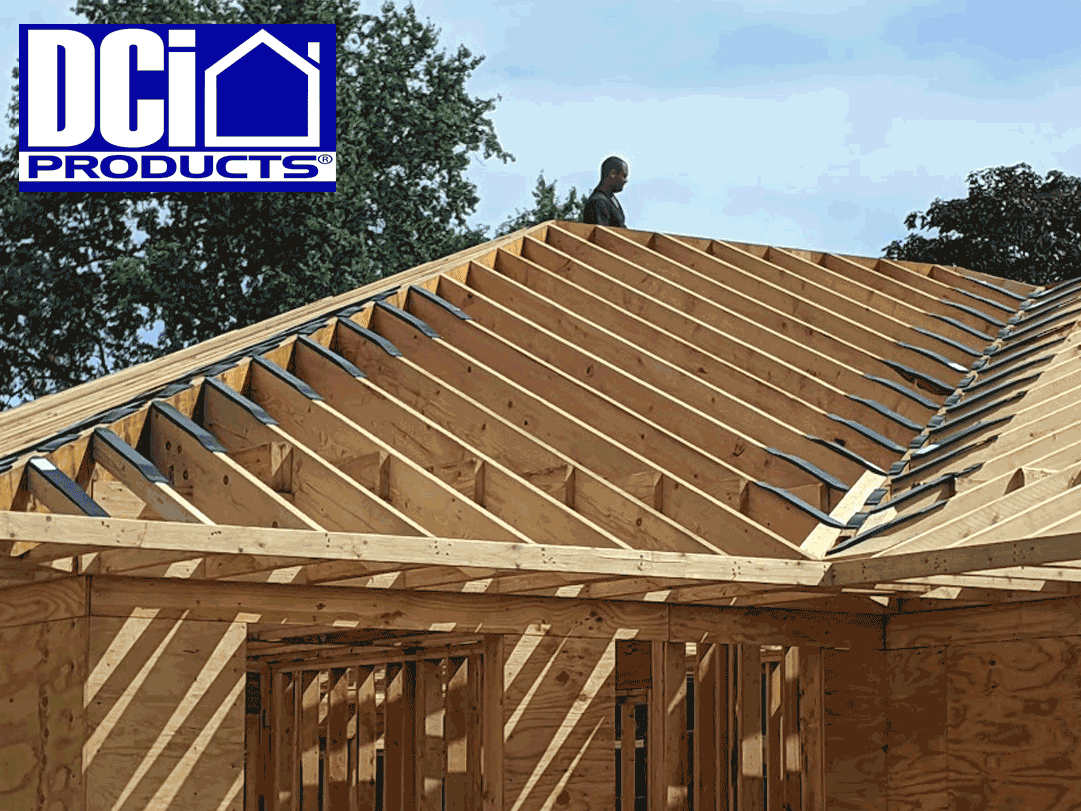
 Hip Roof Installation – Nail one ValleyVent on each rafter at the top of the hip rafter, one on each side of the hip beam, touching the pointed 3-ply thick edge at the hip beam. Install ValleyVents on each rafter from the soffit area of the hip to the ridge area of the hip (this ensures the proper required air flow from soffit to ridge along the hip beam). Install roof sheathing (plywood) over ValleyVents and nail. Ridge vents are require.
A great example of one application of ValleyVent can be found in an article written by Mike Guertin. If you are unfamiliar with Mike, he is one of the foremost building authorities/columnists in the business.
ValleyVent featured in Coastal Contractor – March 2007
“Best-Practice Wall Shingles” ~Mike Guertin


